Recently, I was tasked with testing an eBay API path using Postman. The goal was simple: make a POST request and ensure the API response was correct. However, to fully validate the API and ensure all its features worked as expected, I needed to write detailed tests to cover multiple aspects of the response. Here’s how I approached the task, what I learned, and how I successfully completed it — step by step, so even if you’re a beginner, you’ll find it easy to follow along.
The Task
The URL I needed to test was: https://www.ebay.com/gh/gadget_csm?v=2.
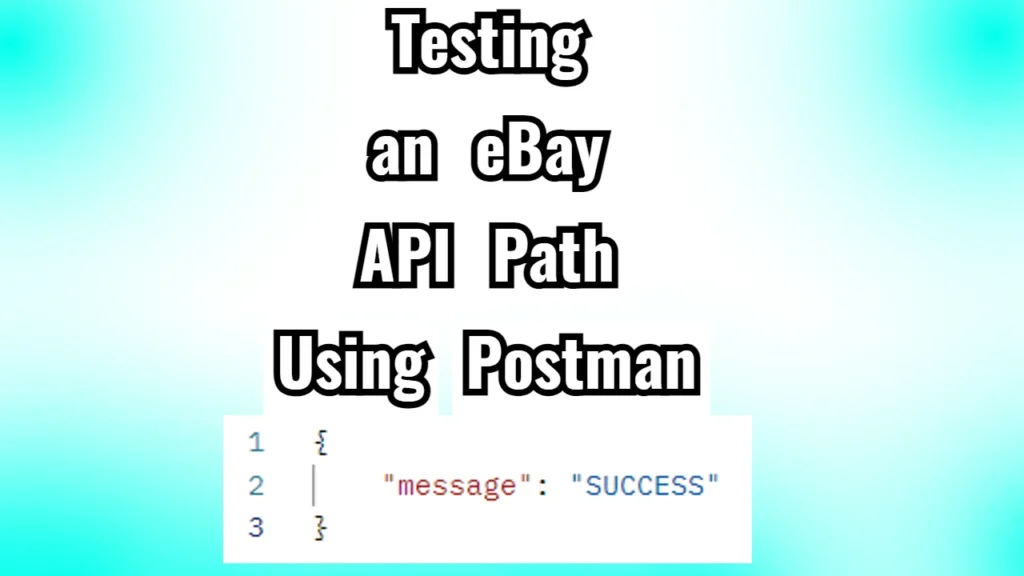
When I ran it in Postman as a POST request, the response I got was a simple JSON body:
{
    "message": "SUCCESS"
}
While getting a response like this might seem like a job well done, as testers, we need to dig deeper. My task was to ensure that the response wasn’t just superficially correct but also adhered to expected standards (like the right status code, headers, and response format). So, I decided to write a series of automated tests to verify that this API worked reliably and as expected.
Setting Up in Postman
For those new to Postman, it’s a tool that allows you to make API requests and see the responses. It also allows you to write test scripts to verify that API responses are correct automatically.
Create a New Request in Postman:
I created a new POST request in Postman with the URL: https://www.ebay.com/gh/gadget_csm?v=2.
Under the Body tab, I selected the raw format and set the type to JSON, though for this task no actual request body was needed.
Send the Request:
After setting everything up, I clicked Send and received the response:
{ "message": "SUCCESS" }
At this point, I could have stopped here. The response seemed okay. But to truly validate an API, you must write test cases to ensure things like response time, headers, and content are all in place. That’s where Postman’s Tests tab comes into play.
Writing the Postman Tests
Now, the fun part: writing the tests. I wrote a series of test scripts covering different API aspects. Here’s what I focused on:
Status Code Check: The status code should be 200, indicating that the request was successful.
pm.test("Status code is 200", function () { pm.response.to.have.status(200); });Response Time Check: Ensuring the API responds quickly is always good. I wanted to make sure the response time was less than 500ms.
pm.test("Response time is less than 500ms", function () { pm.expect(pm.response.responseTime).to.be.below(500); });Check the Content-Type: APIs typically return data in a specific format, like JSON. The Content-Type header tells us what format the response is in. I initially wrote a test expecting Content-Type to be exactly "application/json". But when I ran it, the test failed! The actual value was "application/json; charset=utf-8".
This was a learning moment. I realized that the extra charset=utf-8 was perfectly valid. To fix the test, I updated it just to check that the Content-Type includes "application/json".
Here’s the updated test:
pm.test("Content-Type contains application/json", function () { pm.response.to.have.header("Content-Type"); pm.expect(pm.response.headers.get("Content-Type")).to.include("application/json"); }); After this change, the test passed!
Validating the Body: The key part of the response body was the "message": "SUCCESS". I wanted to make sure that the message property existed and that its value was exactly "SUCCESS".
pm.test("Response body contains success message", function () { const responseJson = pm.response.json(); pm.expect(responseJson).to.have.property("message", "SUCCESS"); });Check for Unexpected Properties: I also wanted to make sure the response didn’t contain any unexpected properties. This helps ensure that the API isn’t returning irrelevant or incorrect data.
pm.test("No unexpected properties in the response", function () { const allowedProperties = ["message"]; const responseJson = pm.response.json(); pm.expect(Object.keys(responseJson)).to.have.members(allowedProperties); });Response Content-Length: Finally, I checked that the Content-Length the header indicated that the body wasn’t empty.
pm.test("Content-Length is greater than 0", function () { const contentLength = pm.response.headers.get("Content-Length"); pm.expect(parseInt(contentLength, 10)).to.be.above(0); });Here is the full testing script in 1 piece:
// 1. Validate the status code
pm.test("Status code is 200", function () {
    pm.response.to.have.status(200);
});

// 2. Validate the response time is under 500ms
pm.test("Response time is less than 500ms", function () {
    pm.expect(pm.response.responseTime).to.be.below(500);
});

// 3. Validate the response format is JSON
pm.test("Response format is JSON", function () {
    pm.response.to.be.json;
});

// 4. Check that the Content-Type contains application/json
pm.test("Content-Type contains application/json", function () {
    pm.response.to.have.header("Content-Type");
    pm.expect(pm.response.headers.get("Content-Type")).to.include("application/json");
});

// 5. Check that the Server header is present
pm.test("Server header is present", function () {
    pm.response.to.have.header("Server");
});

// 6. Validate the response body contains the expected message
pm.test("Response body contains success message", function () {
    const responseJson = pm.response.json();
    pm.expect(responseJson).to.have.property("message", "SUCCESS");
});

// 7. Check that the message value is not empty
pm.test("Message is not empty", function () {
    const responseJson = pm.response.json();
    pm.expect(responseJson.message).to.not.be.empty;
});

// 8. Ensure no unexpected properties are in the response
pm.test("No unexpected properties in the response", function () {
    const allowedProperties = ["message"];
    const responseJson = pm.response.json();
    pm.expect(Object.keys(responseJson)).to.have.members(allowedProperties);
});

// 9. Ensure the 'warning' field is not present in the response
pm.test("No warning field in response", function () {
    const responseJson = pm.response.json();
    pm.expect(responseJson).to.not.have.property("warning");
});

// 10. Validate that Content-Length is greater than 0
pm.test("Content-Length is greater than 0", function () {
    const contentLength = pm.response.headers.get("Content-Length");
    pm.expect(parseInt(contentLength, 10)).to.be.above(0);
});
Running the Tests
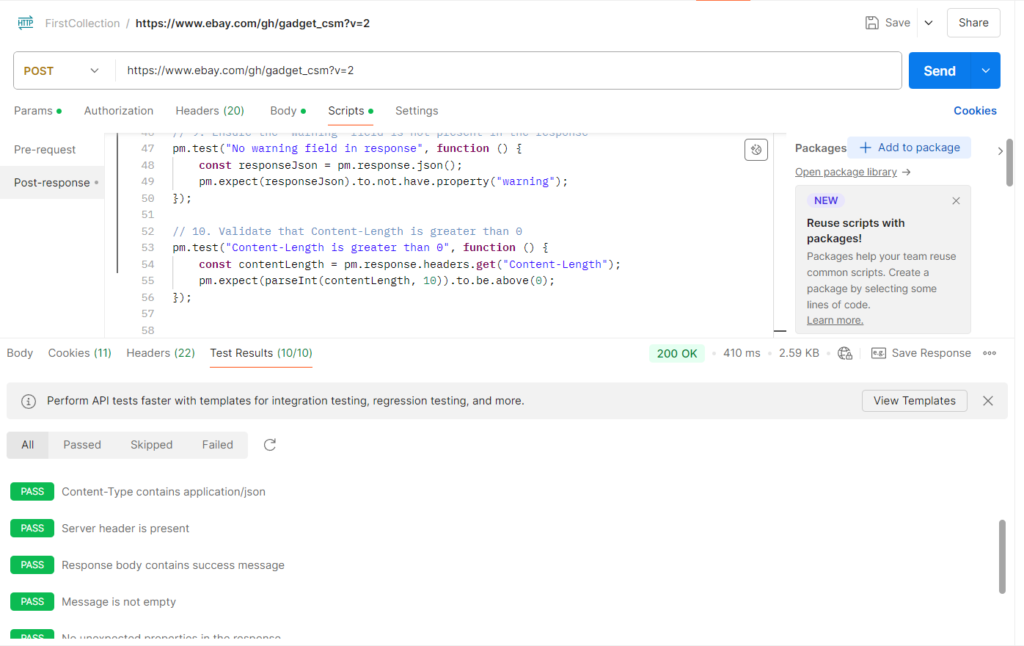
Once I had all my tests in place, I clicked Send again, and Postman automatically ran the tests. All of them passed except for the one about Content-Type, which I had already fixed.
By the end, I had a comprehensive suite of tests that not only checked if the API responded but also ensured that it met all key requirements like speed, correct headers, and a properly structured response.
What I Learned
- Testing Is More Than Just Getting a Response: It’s not enough to just send a request and check the body. You need to validate status codes, headers, and response times too.
- Be Flexible With Expectations: The
Content-Typeissue taught me that APIs sometimes return additional information (likecharset=utf-8), and we need to account for that in our tests. - Postman’s Tests Tab Is Powerful: The Tests tab allows you to automate response validations, which is key to ensuring an API works consistently.
Finally!
Ultimately, I completed the task by writing detailed Postman tests that validated the eBay API. The most important takeaway for a beginner is to approach API testing systematically. Don’t just check one thing — test as many features as possible: status codes, headers, body structure, and response time. And don’t worry if things don’t work on the first try — testing is about learning from each failure and iterating until everything goes smoothly.
