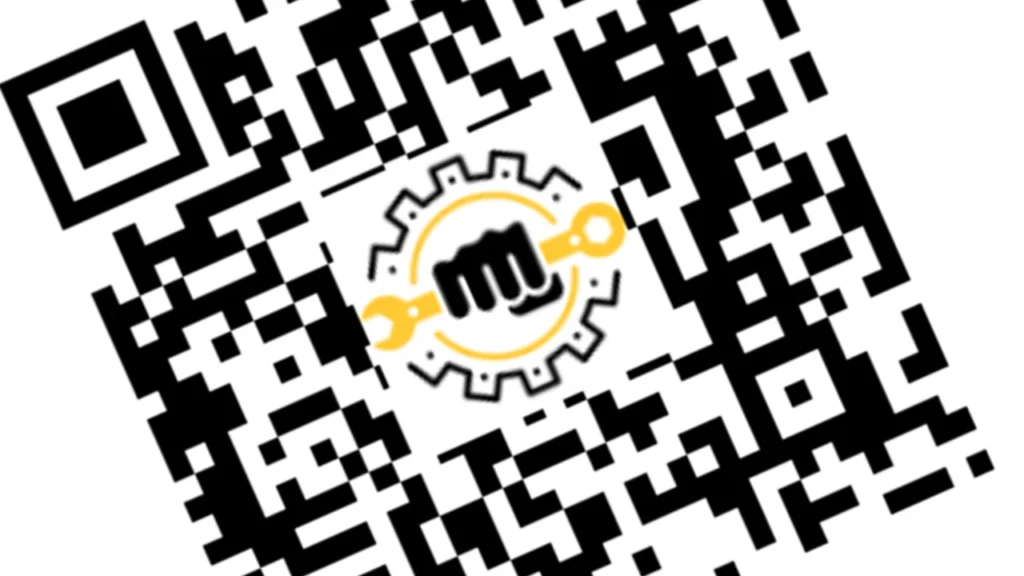
QR codes have become an essential tool in the digital world. Whether you want to share links, promote a business, or provide easy access to information, a QR code can be an effective and straightforward solution. I’ll guide you through building a QR code generator with a custom logo using HTML, CSS, and JavaScript. The great thing is that you don’t need to be an advanced programmer to understand this – I’ll explain everything step by step so even beginners can follow along.
Step 1: Setting Up the HTML Structure
The first step in building any app is setting up the structure of your webpage. Here’s the HTML part of the code for our QR code generator.
<!DOCTYPE html>
<html lang="en">
<head>
  <meta charset="UTF-8">
  <meta name="viewport" content="width=device-width, initial-scale=1.0">
  <title>QR Code Generator</title>
  <style>
    /* Add your CSS styling here */
  </style>
</head>
<body>
  <div class="container">
    <h1>Free QR Code Generator with Logo in Middle</h1>
    <div class="form-group">
      <label for="linkInput">Enter your link, phone number, or random text:</label>
      <textarea id="linkInput" placeholder="Enter your text here..."></textarea>
      <label for="imageInput">Upload your logo (optional):</label>
      <input type="file" id="imageInput" accept="image/*">
      <button id="generateBtn">Generate QR Code</button>
    </div>
    <div class="qr-container" id="qrContainer">
      <canvas id="qrCodeCanvas"></canvas>
    </div>
    <button id="downloadBtn" style="display:none;">Download QR Code</button>
  </div>

  <script src="https://cdn.jsdelivr.net/npm/[email protected]/build/qrcode.min.js"></script>
</body>
</html>
Explanation:
- Basic HTML Elements: The structure contains a text area where users can enter their text or URL, an optional file input for uploading a logo, and a button to generate the QR code.
- Canvas Element: The QR code will be drawn inside a
<canvas>element. This allows for dynamic image generation. - QR Code Library: We’re using a QR code library (
qrcode.min.js) to handle the QR code generation.
Step 2: CSS Styling
Now, let’s add some basic styling to make the app visually appealing and responsive.
body {
  font-family: 'Times New Roman', serif;
  background-color: #f1f1f1;
  display: flex;
  justify-content: center;
  align-items: center;
  height: 100vh;
}

.container {
  background-color: white;
  padding: 20px;
  border-radius: 8px;
  text-align: center;
  width: 90%;
  max-width: 400px;
}

input, textarea, button {
  padding: 10px;
  width: 100%;
  box-sizing: border-box;
  margin-bottom: 10px;
}

canvas {
  width: 100%;
  max-width: 300px;
}
Explanation:
- The body is styled to ensure that the container is centered on the page.
- The container has padding and a shadow effect to give it a neat, card-like appearance.
- Inputs and buttons are set to full width and responsive for mobile and desktop devices.
- The canvas is also made responsive by setting the max width.
Step 3: Writing the JavaScript
The magic happens in JavaScript—it handles QR code generation and adding the logo. Let’s break down the script line by line.
document.getElementById('generateBtn').addEventListener('click', function() {
  const link = document.getElementById('linkInput').value;
  const canvas = document.getElementById('qrCodeCanvas');
  const downloadBtn = document.getElementById('downloadBtn');
  const imageInput = document.getElementById('imageInput').files[0];

  if (!link) {
    alert('Please enter a valid URL.');
    return;
  }

  // Set error correction level to H (30%)
  const options = {
    errorCorrectionLevel: 'H',
    width: 300
  };

  QRCode.toCanvas(canvas, link, options, function (error) {
    if (error) console.error(error);
    console.log('QR code generated!');

    if (imageInput) {
      const ctx = canvas.getContext('2d');
      const reader = new FileReader();

      reader.onload = function(event) {
        const logo = new Image();
        logo.src = event.target.result;

        logo.onload = function() {
          const logoSize = canvas.width * 0.3;
          const x = (canvas.width - logoSize) / 2;
          const y = (canvas.height - logoSize) / 2;

          ctx.fillStyle = 'white';
          ctx.fillRect(x, y, logoSize, logoSize);
          ctx.drawImage(logo, x, y, logoSize, logoSize);
          downloadBtn.style.display = 'block';
        };
      };
      reader.readAsDataURL(imageInput);
    } else {
      downloadBtn.style.display = 'block';
    }
  });
});
Explanation:
- Event Listener: We start by adding a
clickevent listener to the “Generate QR Code” button. When the user clicks the button, the function retrieves the link (or text) from thetextareaand checks if it’s not empty. - Error Handling: If no link is provided, an alert will prompt the user to enter something.
- QR Code Options: The
errorCorrectionLeveloption ensures that even if the logo blocks part of the QR code, it will still scan correctly. The width of the QR code is set to 300 pixels. - QR Code Generation: Using the
QRCode.toCanvasfunction, we generate the QR code on the canvas. This method takes three arguments: the canvas element, the text/link, and the configuration options. - Adding the Logo: If the user uploads a logo, we first read the image using the
FileReaderAPI. After loading the image, we draw it on top of the QR code at the center of the canvas. The size of the logo is set to 30% of the QR code’s size for balance. - Download Option: Once the QR code (and optional logo) is generated, we make the “Download” button visible. This button allows users to save the QR code as a PNG image.
Step 4: Downloading the QR Code
Finally, here’s the code for the download functionality:
document.getElementById('downloadBtn').addEventListener('click', function() {
  const canvas = document.getElementById('qrCodeCanvas');
  const link = document.createElement('a');
  link.href = canvas.toDataURL();
  link.download = 'qr-code.png';
  link.click();
});
Explanation:
- We listen for a click on the “Download” button.
- When clicked, a new link element is created, and the
canvas.toDataURL()method converts the canvas image into a base64-encoded PNG. - Finally, we programmatically trigger a click on the link to start the download.
You may check out the entire app source code here: https://github.com/NoToolsNoCraft/QR-code-generator/blob/main/QR%20Generator%20with%20Logo%20option/index.html
Final word!
This project is a great introduction to working with images and external libraries in JavaScript. It’s also a practical tool that you can use in your own projects, whether for branding, marketing, or personal use!
