Introduction When I first approached Object-Oriented Programming (OOP), it felt abstract and complex. However, breaking it down into practical examples made it easier to understand. In this article, I’ll walk you through OOP concepts using an image slider I built with HTML, CSS, and JavaScript.
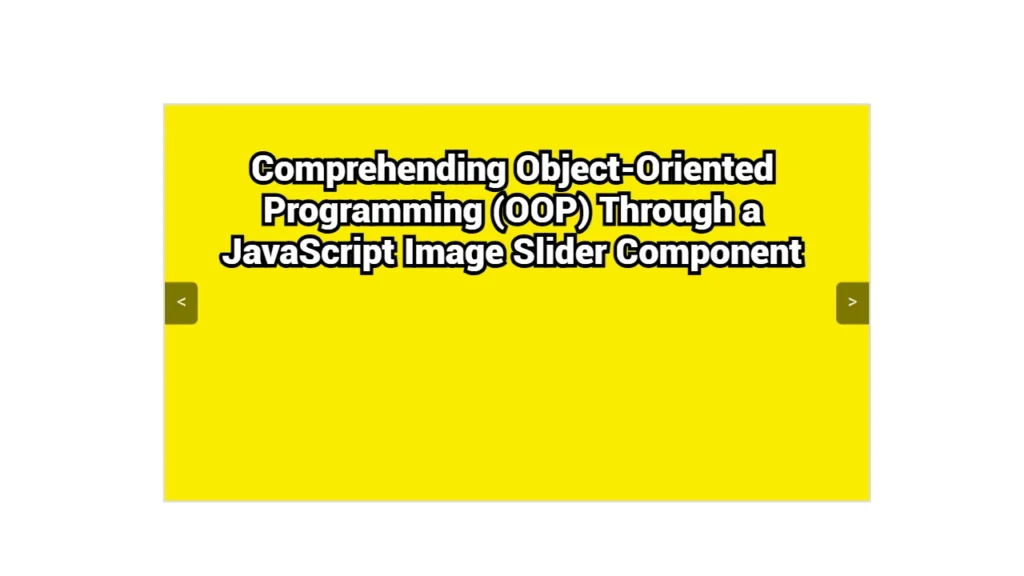
Overview of My Image Slider I created an image slider that leverages OOP principles to produce a responsive, dynamic component that automatically cycles through images and also supports user interaction. While building this, I focused on the following OOP concepts:
- Class and Object Creation
- Methods and Encapsulation
- Event Handling
Code Breakdown Here’s the complete code for the image slider and my thought process behind it:
<!DOCTYPE html>
<html lang="en">
<head>
<meta charset="UTF-8">
<meta name="viewport" content="width=device-width, initial-scale=1.0">
<title>Dynamic Image Slider</title>
<style>
body {
display: flex;
justify-content: center;
align-items: center;
height: 100vh;
margin: 0;
}
.slider-container {
position: relative;
max-width: 600px;
margin: auto;
overflow: hidden;
border: 2px solid #ddd;
}
.slider-image {
width: 100%;
display: none;
}
.slider-image.active {
display: block;
}
.control-button {
position: absolute;
top: 50%;
transform: translateY(-50%);
background-color: rgba(0, 0, 0, 0.5);
color: white;
border: none;
padding: 10px;
cursor: pointer;
z-index: 1;
}
#prevButton {
left: 0;
border-radius: 0 5px 5px 0;
}
#nextButton {
right: 0;
border-radius: 5px 0 0 5px;
}
</style>
</head>
<body>
<div class="slider-container" id="slider">
<button class="control-button" id="prevButton"><</button>
<button class="control-button" id="nextButton">></button>
</div>
<script>
// Image Slider Class Implementation
class ImageSlider {
constructor(containerId, images, interval = 10000) {
this.container = document.getElementById(containerId);
this.images = images;
this.currentIndex = 0;
this.interval = interval;
this.timer = null;
this.createImageElements();
this.showImage(this.currentIndex);
this.startAutoCycle();
document.getElementById('prevButton').addEventListener('click', () => this.prevImage());
document.getElementById('nextButton').addEventListener('click', () => this.nextImage());
}
createImageElements() {
this.images.forEach((src, index) => {
const img = document.createElement('img');
img.src = src;
img.classList.add('slider-image');
if (index === 0) img.classList.add('active');
this.container.appendChild(img);
});
}
showImage(index) {
const images = this.container.querySelectorAll('.slider-image');
images.forEach((img, i) => {
img.classList.toggle('active', i === index);
});
}
nextImage() {
this.currentIndex = (this.currentIndex + 1) % this.images.length;
this.showImage(this.currentIndex);
this.resetTimer();
}
prevImage() {
this.currentIndex = (this.currentIndex - 1 + this.images.length) % this.images.length;
this.showImage(this.currentIndex);
this.resetTimer();
}
startAutoCycle() {
this.timer = setInterval(() => this.nextImage(), this.interval);
}
resetTimer() {
clearInterval(this.timer);
this.startAutoCycle();
}
}
// Initializing the slider
const images = [
'image1.jpg',
'image2.jpg',
'image3.jpg'
];
new ImageSlider('slider', images);
</script>
</body>
</html>My Thought Process and OOP Concepts Used
- Class Creation: I started by defining a class
ImageSliderto encapsulate all the related data and methods. This helped me modularize my code, making it reusable and easier to maintain. - Constructor: The constructor initializes the slider with a container ID, an array of image URLs, and an optional interval for cycling.
- Encapsulation: The methods like
createImageElements,showImage,nextImage,prevImage, andstartAutoCycleare part of the class, encapsulating their behavior and keeping them connected to theImageSliderobject. - Event Handling: I used
addEventListenerto attach event handlers to the navigation buttons, allowing users to interact with the slider.
Conclusion Building this image slider reinforced my understanding of OOP in JavaScript. By creating a class to manage all the functionalities, I was able to keep the code organized and scalable. I hope this walkthrough helps you see how OOP principles can be applied to real-world projects.


