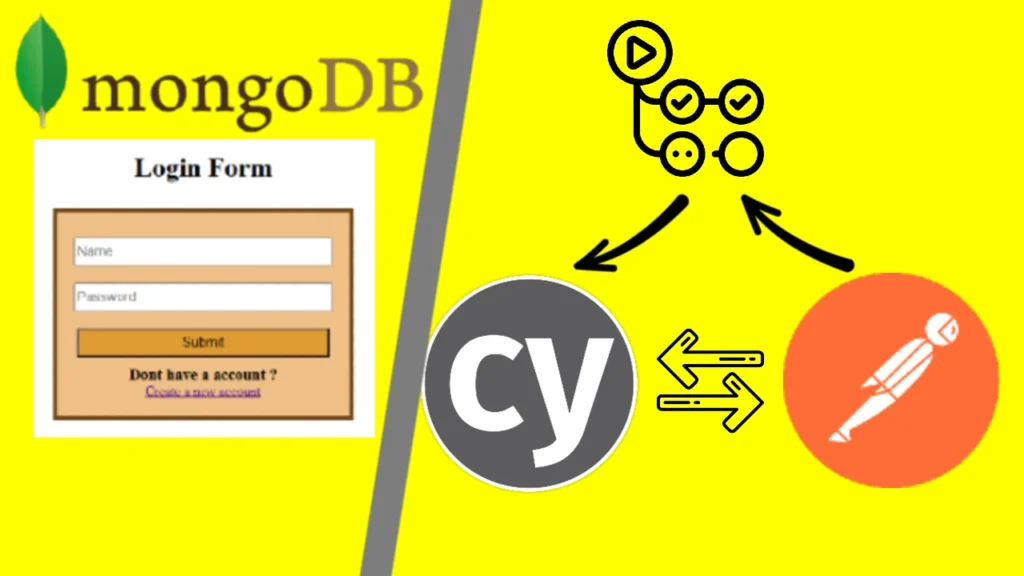
I’m excited to share a practical example of data flow validation using powerful automation tools like Cypress, Postman, and GitHub Actions. We’ll explore how these technologies can seamlessly work together to ensure the smooth functionality of an Account Management app integrated with a MongoDB database. This hands-on demonstration gives insight into setting up comprehensive test cases, verifying data consistency across systems, and automating test execution using GitHub Actions.
You may check out the GitHub repository here:
https://github.com/NoToolsNoCraft/Account-App-Data-Flow-Test-with-Cypress-Postman
Testing Strategy
Cypress and Postman complement each other well in the testing workflow by covering both front-end and back-end testing scenarios. Cypress is ideal for end-to-end testing, ensuring that the user interface behaves as expected and requests from the front end update the database correctly. Conversely, Postman is perfect for API testing, allowing testers to validate that the back-end endpoints return the expected results. This combination provides a comprehensive approach to testing, ensuring data integrity and robust app performance. Regarding the Postman approach used here, I have already covered it in my previous article MongoDB App Testing with Postman. It was actually the preparation for the test executed here.
Test plan
Here is a brief draft of how I imagine this test to work, following these steps:
- Cypress runs a script on the front end, making certain changes
- Validating the changes made by Cypress with Postman
- Making specific changes with Postman
- Validating the changes made with Postman on the front end with Cypress
- Deleting the account with Cypress through the front end.
- Verify that the account was removed from the database with Postman.
This whole process will be automated with GitHub Actions.
Now, in order to make these steps the most efficient, I’ve decided to organize them this way: There will be 2 Cypress and 2 Postman runs. Here is an illustration:
- 1st Cypress run
- 1st Postman run
- 2nd Cypress run
- 2nd Postman run
Steps for basic Cypress setup
- Create a project folder
- Create a package.json
npm init -y - Install Cypress
npm install cypress - Open Cypress
npx cypress open - Set up an E2E testing environment
- Navigate to the root/cypress/e2e folder and create the test script files
First Cypress run
You may find the script in the repository under the following path: /cypress/e2e/InitialRun.cy.js
Brief description: Cypress navigates to the app main page (login), then goes to the register page in order to create an account, then creates an account, and finally logs out.
First Postman run
You may find the Postman collection here: Login app test.postman_collection.json
Brief description: Postman verifies the new account created first by sending a GET request that retrieves all items in the database collection and identifies the new account by its username and password values. After that, Postman sends another GET request retrieving this new account as a single item. Finally, Postman sends a third, this time a POST request, changing the password of the new account to a new one and verifying it via script.
Second Cypress run
You may find the script in the repository under the following path: /cypress/e2e/VerifyPostmanChanges.cy.js
Brief description: This time, Cypress runs 2 test cases. The first one performs a negative test, by navigating to the login page and trying to login with the old account credentials. Remember that during the first Postman run the password was changed.
The second test case is a positive test which uses the new credentials, successfully logs in, ending up on the dashboard page. The test ends with deleting the account from the front-end dashboard.
Second Postman run
Brief description: Postman verifies that the account got deleted by retrieving all data from the database collection and ensuring that the removed item isn’t there anymore, and second by retrieving the single item and expecting a 404 Not Found response.
Automating the whole process with GitHub Actions
Thanks to GitHub actions, we can automate this whole process without any special manual effort. Here, you may check out the workflow script used: runAllTests.yml. Currently, the workflow is set to be manually triggered, although, in some real product scenarios, these tests are either run on each push or scheduled on specific periods.