When testing with Cypress, efficient and precise locators are crucial for interacting with elements on a webpage. Here’s an overview of various CSS locator strategies in Cypress that allow for customized element selection. Each locator type has specific use cases, as outlined below:
1. ID Selector
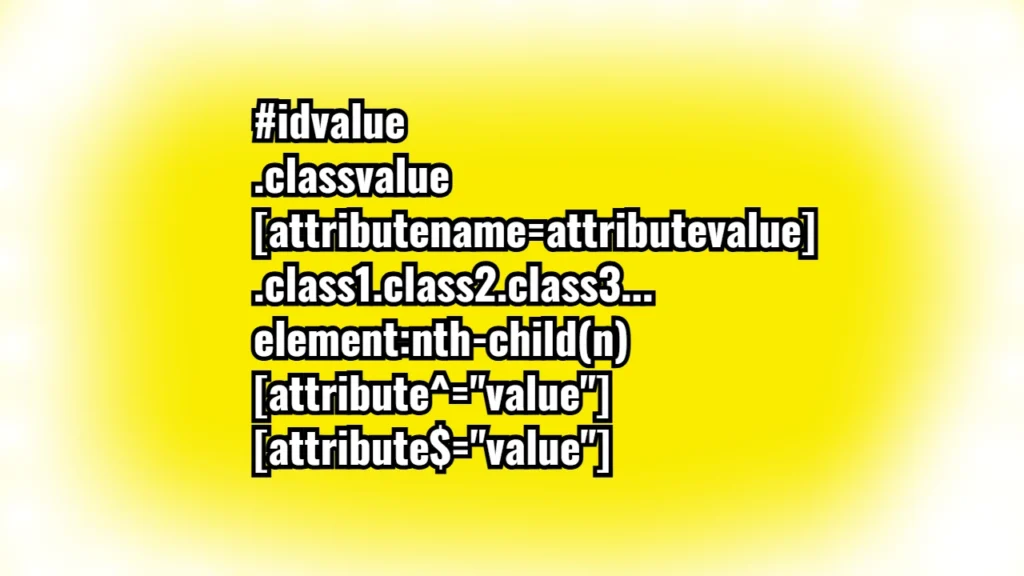
Syntax: #idvalue
Example: #logo
Usage: Use the ID selector when an element has a unique ID attribute. This is the most straightforward and often the most reliable method, as IDs are unique to each element on a page. For example, if you’re testing the visibility of a logo with the ID “logo,” this locator is ideal.
2. Class Selector
Syntax: .classvalue
Example: .input-group
Usage: Class selectors are useful when targeting elements with specific styling classes. This is particularly effective when an element doesn’t have an ID, but the class uniquely identifies it. For instance, if you need to interact with an input group component styled with the input-group class, this selector is efficient.
3. Attribute Selector
Syntax: [attributename=attributevalue]
Example: [onclick="cart.add('43');"]
Usage: Attribute selectors are powerful for selecting elements based on any attribute and value pair. Use this when the attribute value is unique or specific enough to avoid conflicts. For example, if you need to click a button with a unique onclick function, this selector works well.
4. Multiple Class Values Selector
Syntax: .class1.class2.class3...
Example: .product-layout.col-lg-3.col-md-3.col-sm-6.col-xs-12
Usage: Use multiple class selectors when an element is assigned multiple classes. This can help in pinpointing elements in complex layouts, where multiple styling classes are applied to structure the layout across different screen sizes. For example, when working with a product card in a grid layout that uses multiple classes for responsive design, this method is effective.
5. Nth-Child Selector
Syntax: element:nth-child(n)
Example: div>button>i.fa.fa-shopping-cart
Usage: The nth-child selector helps target a specific child element within a parent. This is useful when multiple similar elements are under the same parent, and you want to interact with a specific one. For example, if you’re testing a shopping cart icon that is the second button within a div, using nth-child allows you to select it directly.
6. Starts-With Selector
Syntax: [attribute^="value"]
Example: [onclick^="cart.add"]
Usage: The ^= selector targets elements where an attribute’s value starts with a specified prefix. This is useful when dealing with dynamic attributes that start with a fixed text but end with variable content. For example, when you need to interact with buttons that initiate a cart addition function starting with cart.add, this selector is ideal.
7. Ends-With Selector
Syntax: [attribute$="value"]
Example: [onclick$="('43');"]
Usage: The $= selector is used when an attribute ends with a specified suffix, which is helpful for elements with partially dynamic attributes. For instance, if there are multiple buttons with onclick attributes that end with a specific product ID, this selector will target only those that end with ('43');.
