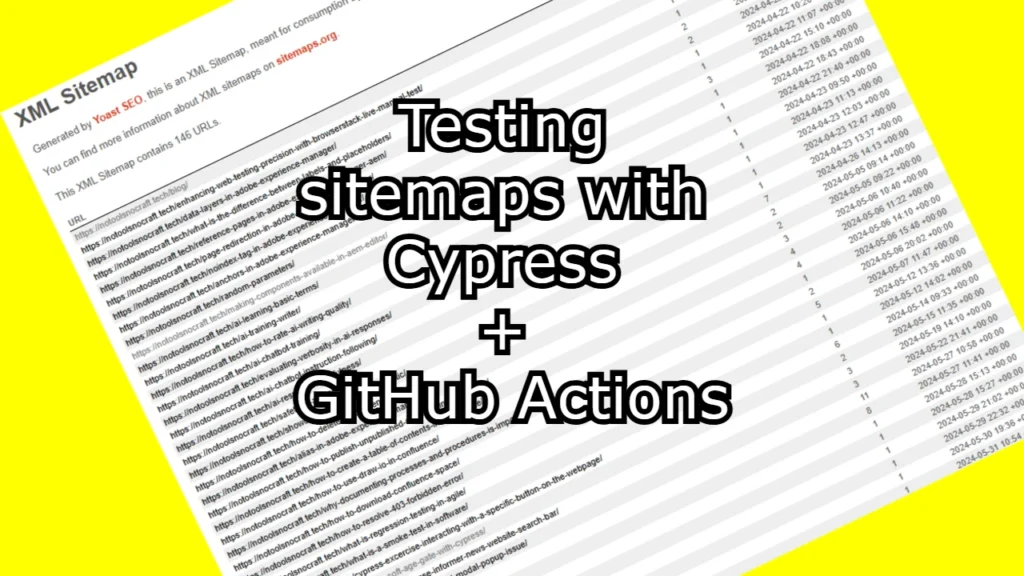
In this document, I will explain the process of setting up an automated workflow for testing sitemaps. The tools we will use here are mainly Cypress and GitHub Actions. Cypress will do the actual job of checking the website’s sitemap, while GitHub actions will automate this whole process so that I can run multiple tests at once, or maybe we want to schedule it to run daily or weekly.
Regarding sitemaps, we want to test if all URLs listed inside of them are responding with status code 200. Basically, we want to make sure that each of these URLs exist and are functional at some fundamental level.
You may check out the project set up in GitHub at this path: https://github.com/NoToolsNoCraft/Website-Sitemap-Testing-with-Cypress
Let’s set up our project step by step.
Setting up a Cypress project in Visual Studio (VS) can be done quickly by following these steps. I’ll guide you step-by-step:
Step 1: Install Node.js
Cypress requires Node.js, so ensure you install it on your machine.
- Go to Node.js official website and download the latest LTS version.
- Install it by following the instructions on the screen.
Step 2: Create a New Project Folder
- Open Visual Studio (VS).
- Create a new folder for your Cypress project, or open an existing folder where you want to set up the Cypress test.
- To create a new folder:
File > Open > Folderand select or create a folder for your project.
- To create a new folder:
Step 3: Initialize npm in Your Project
- Open the integrated terminal in Visual Studio (
View > Terminalor useCtrl + ~). - In the terminal, run:
npm init -y
This will generate apackage.jsonfile for your project.
Step 4: Install Cypress
- In the terminal, run:
npm install cypress --save-dev
This will install Cypress as a development dependency.
Step 5: Open Cypress for the First Time
- Once Cypress is installed, you can open it for the first time by running:
npx cypress open
This will open the Cypress Test Runner, and it will also create acypressfolder with example tests inside.
Step 6: Configure Cypress (Optional)
- If you want to configure Cypress further (e.g., for specific environments or base URLs), open the
cypress.jsonfile at your project’s root.- Example configuration in
cypress.json:{
"baseUrl": "http://localhost:3000",
"viewportWidth": 1280,
"viewportHeight": 720}
- Example configuration in
Step 7: Update Cypress script
Next what we need is to update our Cypress script or scripts (in the cypress/e2e folder) that we are going to run. Here is an example of a script optimized for sitemap testing that I’m actually using in this case:
describe('Sitemap test for IQOS Slovak Republic Products', () => {
    const baseUrl = 'https://www.iqos.com/'; // Define the webpage being tested

    it('Products sitemap', () => {
      // Request the sitemap file
      cy.request(`${baseUrl}/sk/sk.sitemap_product.xml`)
        .its('body')  // Get the response body (XML content)
        .then((body) => {
          // Parse the XML response body
          const parser = new DOMParser();
          const xmlDoc = parser.parseFromString(body, 'text/xml');

          // Extract all URLs from the <loc> tags
          const urls = Array.from(xmlDoc.getElementsByTagName('loc')).map((loc) => loc.textContent);

          // Assert that there are more than 1 URL
          expect(urls).to.have.length.greaterThan(1);

          // Visit each URL in the extracted URLs list
          urls.forEach((url) => {
            cy.log(url);  // Log each URL for inspection
            cy.request(url).wait(1000, { log: false });  // Visit each URL with a wait
          });
        });
    });
  });
The bolded parts are the only parts that we have to modify for each test. First is the website’s base URL we are testing, and second is the sitemap URL.
How to search for sitemaps
A standard way of searching for a website sitemap is by adding the following path to the website base URL: sitemap.xml
For example: notoolsnocraft.tech/sitemap.xml
This method should work in most cases. However, there are cases when searching for the website sitemap this way may return a 400 (404) type error suggesting that it doesn’t exist. In those cases we should do some deeper research.
If we want to make our sitemap searching process easier, we may use a free tool such as this one:
https://free-seo-tools.seomator.com/tool.php?id=sitemap
We have to insert the base URL of the website in the input bar of this tool, and it will research all index sitemaps related to that domain.
Step 8: Run Cypress Tests
- You can run tests in the Cypress Test Runner (
npx cypress open), or run tests in headless mode using:npx cypress run
After we make sure that our scripts are executing tests as intended while running on our devices, we are ready to move this project to our GitHub repository.
Set up GitHub Actions
To set up GitHub Actions to run all Cypress tests in the e2e folder, you’ll need to create a .yml file in the .github/workflows directory of your repository. Here’s a basic GitHub Actions configuration for running Cypress tests:
Step 1: Create a .github/workflows Folder
- Inside your repository, create the following folder structure:
.github/
└── workflows/
Step 2: Create the GitHub Actions Workflow File
- Inside the
workflowsfolder, create a file namedcypress.yml(or any name you prefer). - Add the following content to your
cypress.ymlfile to set up the Cypress test automation:
name: Run Cypress Tests

on:
  push:
    branches:
      - main  # or the branch you want to trigger the tests on
  pull_request:
    branches:
      - main  # or the branch you want to trigger the tests on

jobs:
  cypress-run:
    runs-on: ubuntu-latest

    steps:
    - name: Checkout code
      uses: actions/checkout@v2

    - name: Set up Node.js
      uses: actions/setup-node@v3
      with:
        node-version: '16'  # Specify the Node.js version

    - name: Install dependencies
      run: |
        npm ci  # Install dependencies from package-lock.json

    - name: Install Cypress
      run: npm install cypress --save-dev  # Install Cypress as a dev dependency

    - name: Run Cypress tests
      run: npx cypress run --spec 'cypress/e2e/**/*.js'  # Runs all tests in the e2e folder
Explanation of the Workflow
- name: The name of the workflow.
- on: Specifies the events that will trigger the workflow. In this case, it runs on pushes and pull requests to the
mainbranch. - jobs:
- cypress-run: The job that will run the Cypress tests.
- runs-on: Specifies the operating system for the job (in this case,
ubuntu-latest).
Steps:
- Checkout code: This checks out your repository so that the workflow can access the code.
- Set up Node.js: This installs Node.js (v16 in this case).
- Install dependencies: This installs the project’s dependencies using
npm ci, which ensures that dependencies are installed exactly as specified in thepackage-lock.json. - Install Cypress: Installs Cypress if it’s not already installed in your project.
- Run Cypress tests: This runs the Cypress tests from the
cypress/e2efolder. The--specflag is used to specify that tests from thee2efolder should be executed.
Additionally, you can schedule this test to run automatically daily or weekly. After pushing to GitHub, go to the Actions tab in your repository to see the workflow in action. It will automatically trigger when you push to the main branch or create a pull request.


